
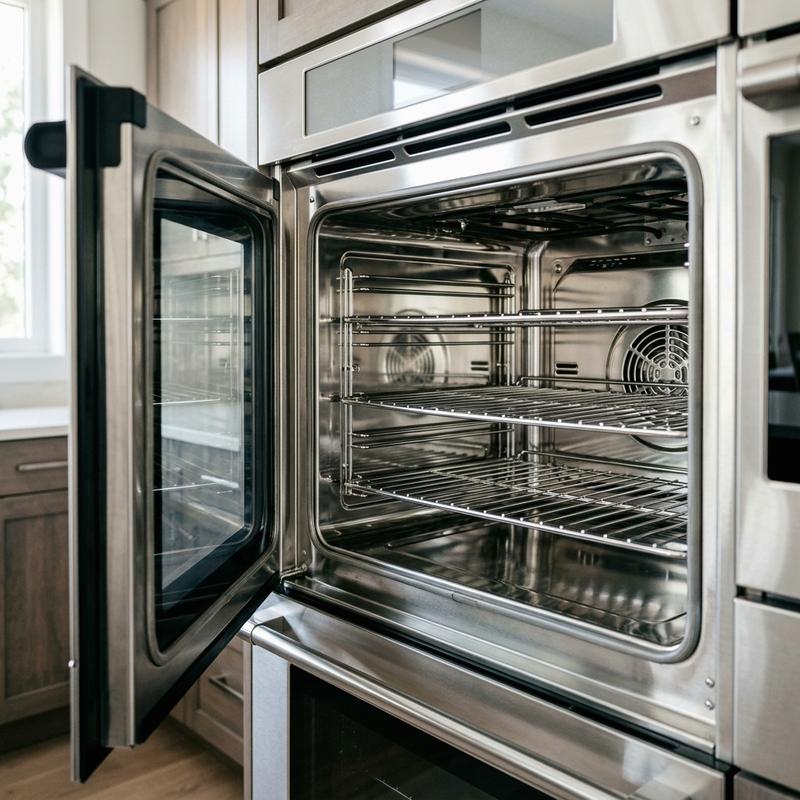
The Ultimate Refrigerator and Oven Deep Clean Guide
Our team at HomeTunez tested dozens of kitchen cleaning methods to find the absolute best way to tackle your refrigerator and oven. These two appliances work harder than almost anything else in your home. Over time, grease builds up on the oven walls, while forgotten spills in the fridge can lead to unpleasant odors and bacteria growth. Cleaning them thoroughly does not just improve hygiene; it also helps your appliances run more efficiently.
We recommend setting aside a full afternoon for this project. Grab your favorite microfiber cloths, a non-abrasive scrub sponge, and some gentle cleaning agents. Before starting, make sure you have a trash bin nearby to discard expired food products. Having a clean workspace makes the entire process feel much more manageable.
Step 1: Empty and Prep the Refrigerator
Start by unplugging the refrigerator to save energy and prevent the compressor from running continuously while the door is open. Empty the entire contents onto your countertops. Check every jar, bottle, and container, throwing away anything that is expired or no longer usable. This is a great opportunity to wipe down sticky bottles of condiments before they go back in.
Carefully remove all shelves, drawers, and door bins. Let them sit on the counter until they reach room temperature. Splashes of warm water on cold glass can cause the shelves to crack or shatter. While you wait, use your Dyson vacuum with the crevice tool attachment to clean up loose crumbs and debris from the bottom of the fridge cabinet.
For washing kitchen towels and microfiber cloths afterward, we suggest choosing the best eco-friendly laundry detergent sheets to keep your cleaning cycle as green as possible. Wash the removed plastic bins and glass shelves in your sink using warm, soapy water and a squeeze of Method dish soap. Rinse them well and set them aside to dry completely on a clean towel.
Step 2: Clean the Refrigerator Interior and Coils
To clean the interior walls, avoid harsh chemical sprays that can transfer odors to your food. Mix a simple cleaning solution of two tablespoons of baking soda with one quart of warm water. Wipe down the entire interior using a clean cloth dipped in this mixture. Baking soda is excellent at neutralizing odors and gently scrubbing away stuck-on food without scratching the plastic surfaces.
Pay special attention to the rubber door gaskets. These seals frequently trap crumbs and moisture, which leads to mold growth. Wipe the gaskets down with a mixture of warm water and a splash of white vinegar. Once clean, apply a very thin layer of petroleum jelly to the rubber seals to keep them pliable and ensure a tight seal when the door closes.
Move the refrigerator away from the wall to access the condenser coils at the bottom or back of the unit. Dusty coils force the refrigerator to work twice as hard to maintain cold temperatures. Use a coil brush and your Dyson vacuum to remove the dust, pet hair, and lint. Doing this twice a year can significantly extend the lifespan of your appliance.
Step 3: Prep and Clean the Oven
Oven cleaning is notoriously difficult, but you do not need to rely on the self-cleaning cycle. The extreme heat of a self-clean cycle can damage control boards and release toxic fumes into your home. If you want to keep an eye on the kitchen while waiting for cleaners to work, setting up the best smart indoor security cameras for home allows you to monitor the space from another room.
Remove the oven racks and soak them in your bathtub filled with warm water and a cup of dish soap. Let them soak for at least two hours to loosen baked-on grease. For the oven interior, make a thick paste by mixing half a cup of baking soda with a few tablespoons of water. Coat the entire interior of the oven with this paste, avoiding the heating elements and the glass window.
Let the paste sit overnight to do the heavy lifting. The next day, spray the dried paste with white vinegar, which will create a foaming action that lifts away grease. Wipe the oven clean with a damp microfiber cloth, using a plastic scraper for stubborn spots. For a final polish, use a Shark steam cleaner to sanitize the surfaces and remove any remaining residue.
Step 4: Restore and Reassemble
Wipe down the oven racks in the tub using a scrubbing sponge, dry them, and slide them back into place. Clean the glass door window using a paste of baking soda and water, scrubbing gently in circular motions before wiping clean. Use a clean stainless steel cleaner on the exterior of both appliances to give your kitchen that polished, professional look.
Modern smart kitchen appliances can coordinate with your home network. Understanding how smart home protocols zigbee zwave wifi function helps you connect your smart fridge and oven to your automated home system. Once everything is connected and clean, plug the refrigerator back in and return the food to the shelves, organizing items by category.
A beautifully clean kitchen elevates the overall aesthetic of your living space. You can pair this fresh kitchen look with budget-friendly modern living room decor ideas to create a cohesive design flow throughout your home. If you enjoy extending this eco-friendly cleaning and organizing mindset to other areas, you might also find inspiration in our guide to sustainable bedroom design ideas.
Frequently Asked Questions
How often should I deep clean my refrigerator and oven?
We recommend deep cleaning your refrigerator every three to four months, checking for expired food weekly. For the oven, a deep clean every six months is usually sufficient, though spills should be wiped up as soon as the oven cools to prevent stubborn carbon build-up.
Why should I avoid the self-cleaning oven feature?
The self-cleaning cycle heats the oven to temperatures over 800 degrees Fahrenheit. This extreme heat can destroy the heating elements, damage the electronic control panels, and release strong fumes and smoke into your home. Using a baking soda paste is much safer and protects your appliance from damage.
Can I use vinegar to clean the refrigerator door seals?
Yes, a mild vinegar and water solution is excellent for cleaning mold spores on the rubber gaskets. Avoid using straight vinegar, as the acidity can degrade the rubber over time. Always dry the seals thoroughly after cleaning and apply a bit of petroleum jelly to keep the rubber soft.
To learn more about optimizing your space, explore our guide on Smart Home Tech for Seniors.
For additional tips on creating a beautiful home, read our article about Non-Slip Flooring Solutions.